Since I tried my first ever macaron, I have always loved them. I used to spend an extortionate amount of money on them. Whenever I saw one in a shop or a food stall at a market, I would buy them. When I got some money on my birthday, I ran to Marks & Spencer to buy a pack of their macarons. I could never figure out how they made the crispy shells with the chewy middle.
I had my first attempt at making macarons in February 2013, but I only perfected them in Summer 2018. I am going to show you all the pictures I have of my macaron attempts until I finally got it almost right. This is because I want you to understand that although it can be a very difficult thing to make, it can be done! I think I was defeated by this little sweet about 10 times before I finally figured out what I was doing wrong. So keep reading if you want to have a laugh at my macaron failures.
A friend of mine came to stay over during my first year of university and suggested that we make macarons. I was living in a student accommodation and had close to no baking equipment. We whisked egg whites by hand but got nowhere close to stiff peaks and finally decided that we’d had enough. We chucked the dry ingredients and flavouring in, gave it a stir and poured the liquid batter onto some baking paper and baked this for about 15 minutes. While it tasted really nice, it was definitely not a macaron! This attempt was so bad, I never even thought of taking a picture so unfortunately, I cannot show you that attempt.
A year later, in January 2014, a friend invited me over for dinner and I said that I would make dessert. I asked her if there was anything in particular that she liked and she said she loved macarons. I decided to give this another go. I baked these at my friend’s house and I think I followed a recipe I found on BBCGoodFood. She had a hand mixer so I actually got stiff peaks in my egg whites but then I realised that they did not get the perfect round shells by spooning dollops onto the parchment paper. I really should have read the recipe ahead of time and taken a piping bag and piping tip to her house but as I hadn’t done that, I put dollops of the batter into the oven. I should also mention that I had only just folded the dry ingredients in and it was severely under mixed. The picture below on the left shows this poor attempt. However, we dipped them in some sweetened, whipped cream and it tasted really nice.
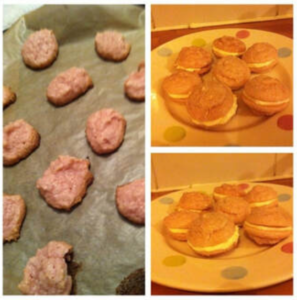
A couple of days later, I bought myself a hand mixer and decided to try making the macaron again. As I had a piping tip, They looked a lot better. However, I was not mixing the ingredients properly. For the longest time, I thought that I should not fold the dry ingredients for too long as it would knock out the air in the egg whites. I always wondered why it did not make a figure 8 in the batter. This was something I did not learn until Summer 2018, but we’ll get there! The picture above on the right shows this attempt.
After this, I gave up on making macarons for quite awhile. I think the time I attempted this again was in late 2016. It still wasn’t right at all as you can see from the picture on the right. After this I gave up for awhile again.
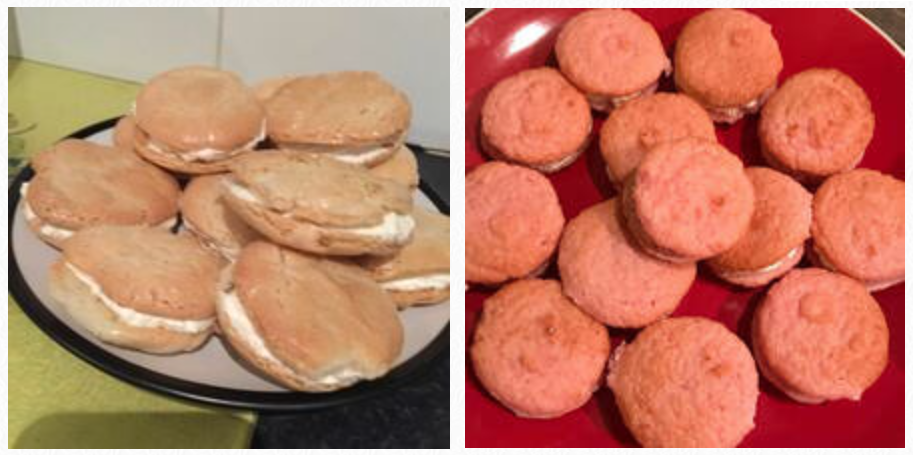
I had the same issues with this macaron batch I tried in early 2018 as I was still not mixing them properly. Also, these were a keto version so they tasted a bit funny because of the sugar substitute I had used. I used Martha Stewart’s recipe for this version. I used a macaron mat from Lakeland which explains the equal sizes. A photo of this batch is above on the right.
A few months along the line, I had finished a bad day at work and decided to bake something to cheer me up. At this point, I had finally figured out what I was doing wrong – thank you, Martha Stewart! I followed the recipe step by step and I folded the batter about 45 times. I finally did a figure 8 in my batter! I was so excited. I piped them carefully onto my macaron mat and realised I may have over mixed it this time! However, they did look much better than any of my previous attempts so I left them to dry. All the recipes I have read says that macarons should be left out to dry before it goes in the oven. However, I couldn’t find this step in Martha Stewart’s recipe, but I still did this. I think I left it out for about 30 – 45 minutes and then I popped them in the oven to bake.
They came out almost perfect! The shells were smooth and peeled off the mat nicely. The only issue was that my bright purple macarons were not purple anymore. I had baked them for a bit longer than necessary so it had started to brown on top. I was a bit confused though as the baked texture seemed fine. The insides of the macaron shells were still bright purple when I bit into it. Also, these macarons tasted perfect!

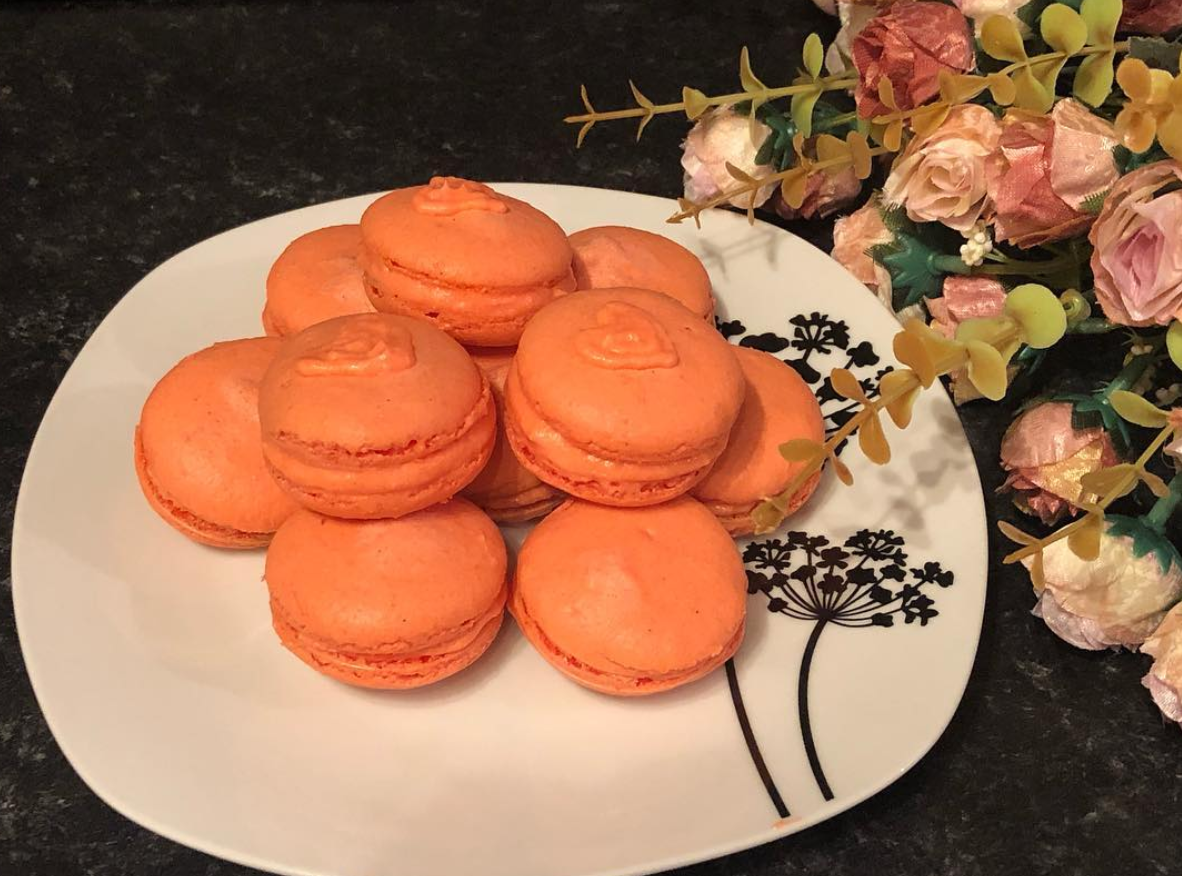
I made another batch of macarons in August to go on my birthday cake and these turned out a lot better – even the colour! I folded these about 35 times as recommended by Martha Stewart. I asked Ellie from Sieving the Dream if there was anything I could do and she suggested placing a large tray on the shelf above the macarons in the oven so that the direct heat is blocked a little. This tip worked great! Thank you, Ellie!
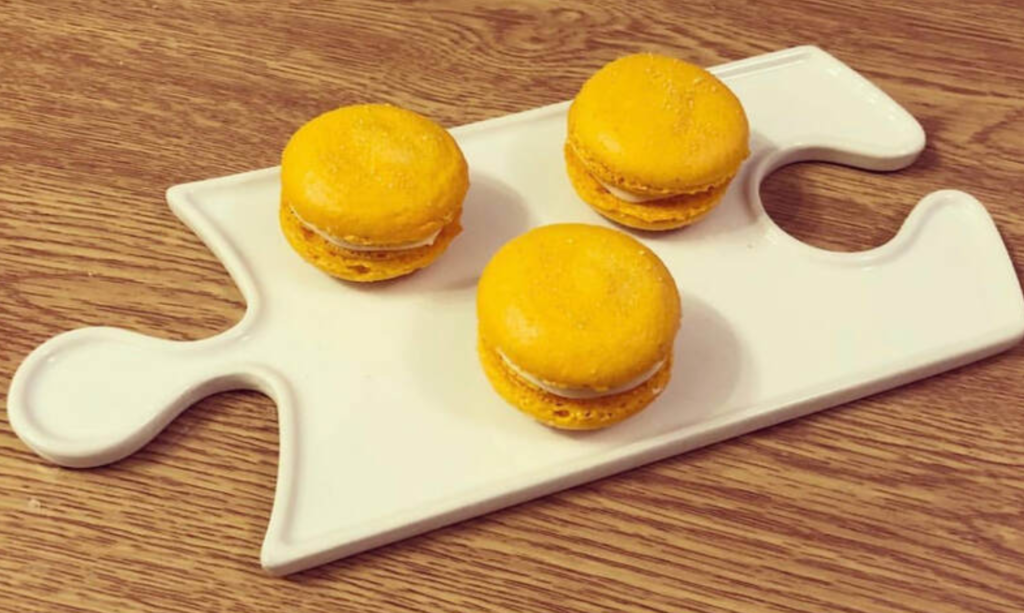
I was so much more motivated to make macarons after this as well. I made some lemon cheesecake flavour ones recently and they turned out really nice. It was with these ones that I realised the perfect number of folds for me is 32. These don’t look as smooth but that’s because I put some yellow sugar-like sprinkles on top before baking them as decoration. I piped some cream cheese icing around macaron shell with a little gap in the middle. Then, I filled the gap with some lemon curd. For a short video of me piping the macaron batter and filling the macaron, click here! The colours were perfect and they tasted amazing. The sour lemon curd in the middle was perfect with the sweetness of the actual macaron shell.
So, after these attempts, I somehow have not managed to make macarons again. I am thinking of trying out a variety of recipes including the Italian method to see if it works out better. Wish me luck!
Hope you’ve enjoyed reading about my Macaron Battle! If you want to try and make these, definitely don’t give up! Read recipes and watch videos and most importantly, ask your baking friends what they recommend.
Click here for the link to the recipe I use by Martha Stewart.